
Last Sunday I was doing my best to convince Robert that we should start ripping out the second bathroom. He was tired and didn't want to. (The part I hate most about summer is that we are on completely different schedules. When he comes home from work and on the weekends he wants to relax because he has been working hard but I want to be productive because I feel like I haven't done anything all day. Ugh.) So instead of starting the bathroom I told him about my secret project so that I could start it. He wasn't thrilled but was too tired to try and stop me! Ha ha!!
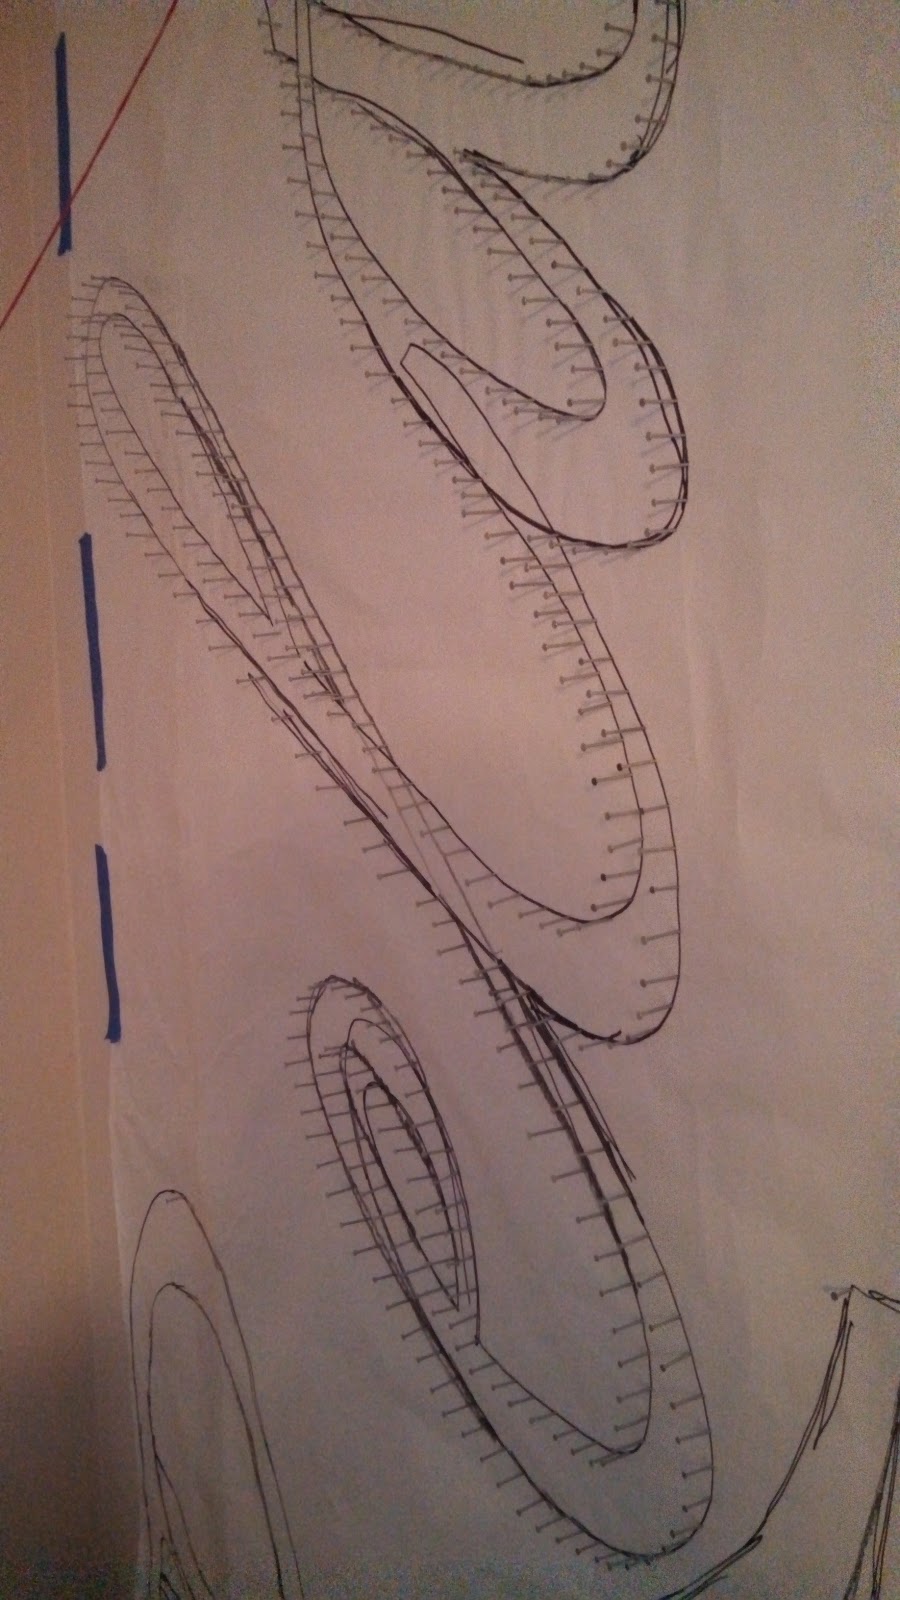
I've seen a lot of string art on Pintrest and liked how it was kind of a throw back to the 70's string art with a modern twist. So I went to school and projected the word Relax on a big piece of paper and traced it. I had already measured the spot so I knew how big it needed to be. Then a hung it up

After deciding I liked where it was I got my supplies. We have a huge stash of nails so I grabbed a bunch and put them in a plastic bag. I ripped a hole in it for my thumb. I also grabbed the string a bought a few weeks about when I thought up this crazy idea.


The next day I did the same thing- nailed letters while Nola was eating and did the string part while she was napping. I managed to finish everything but the "R" in one day.

As I watched TV that night and admired my masterpiece I got a little nervous about it being so close to the ground. Nola's basket of toys sit next to that wall so there is a little bit of a barrier but I still was a little worried. I talked to Robert about it and we decided that it would be best if I changed it to a lowercase letter that way it wouldn't be so close to the ground. So the next day I cut out a lowercase "r" and taped it to the wall, nailed it and added string.

I LOVE the way it turned out! And so does Robert? He hasn't given my a straight answer about it yet so I'm going to assume that he loves it too :)


If you want to create your own string art here are a few tips:
- Don't worry about the holes. Holes are easy to patch. Before I switched to the lowercase "r" I had put about 15 nails in the capital "R" so I had to patch and paint them. Guess what?!? It was easy to do! You can't even tell they were there. I have no idea how long we are going to be in our house and I'm not going to not do something for fear that I might have to take it down one day. I'm going to enjoy my house while I'm here. That means there might be some holes to patch in the future and I'm ok with that.
- Be careful with the hammer. I hit the same finger 3 times. Twice within a minute. It hurt.
- Use two hands while stringing. If you miss a nail the whole string will loosen and come off the nails. Use your second had to keep the string tight. P.S.- The "elax" is all one long piece of string!
- Don't do this project right after you do a Jillian Michaels video. If your arms are sore before you start they are really going to hurt after!
- When you sting, be random but have a pattern. I would first go through and do the outline then go back and forth in a pattern. After that I would go through the opposite direction but be more random. That way it didn't look perfect but was completely covered.
- This looks like a lot of work but goes up pretty quick. I'm estimating that I spent about 3 total hours on it which is perfect because we had friends visiting the day after I finished!
- Try some different things. How fun would it be if you painted the letters a different color first or did an ombre effect? Maybe on my next sting project...
- Don't tell your husband about it :)
Looks great Megan!
ReplyDeleteMy first comment! Yeah!!!! Thanks Tanis!
ReplyDelete